spring seeds
march 20
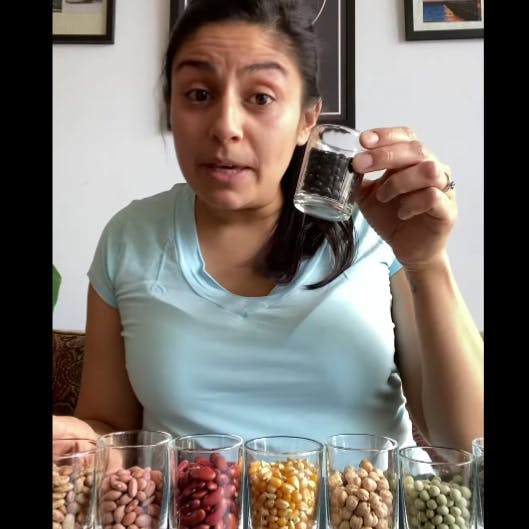
Celebrate the first day of spring with our STEAMwork Nature Spotlight! Christina shows us how we can use everyday items in our pantry to start the germination process of growing plants. Let’s see your green thumbs, dreamers!
what you’ll need:
A pint-sized container, like a take out container (alternatives: glass jar OR two paper or plastic cups)
Dry beans, raw nuts, or seeds
- Kidney beans (these grow well in containers!)
- Peas (these grow quickly)
- Sunflower seeds (unroasted and unflavored)
- Corn (like the kind you use for popcorn!)
- Fruit seeds, like peach pits
potting soil (alternative: paper towels)
water
something pointy such as a knife, pen, or pencil (optional, used by an adult or with appropriate instruction and supervision)
what’s next?
Once you’ve set up your growth experiment containers, leave them near a sunny window. Water the planted seeds lightly when the soil or paper towels feel a little dry, but know that you may not need to water them everyday. As the days go by, you will start to see the seeds germinate, or sprout little roots and plant shoots straight out of the seed itself. You should see some growth within 5-14 days (or sooner)!
If you used paper towels to germinate your seeds, transplant your plant shoots directly into dirt after they grow to be about six (6) inches tall, so you can continue your growth experiment.
ways to engage for deeper learning:
When you check in on your seeds, ask your young learner the following questions:
- What do you see in your seed container?
- What do roots look like? What direction do roots grow?
- What do plant shoots look like? What direction do plant shoots grow?
- What is the difference between roots and plant shoots?
- If you used different seeds, what are some differences you are noticing?
- How fast are your seeds germinating and growing?
- What type of environment requirements do seeds need to grow?

